AKTAKOM ASE-1111 Soldering Station provides precision digital temperature control and ease of use - all you need for electronic component mounting on PCB surface.
ASE-1111 compact soldering station (analog of ZD-931) is perfect for the use in such fields like electronic research, teaching and production, especially in the repairing and soldering on the electronic appliances and communication equipment.
Key benefits:
- Fast tip heating up to 450°C in seconds
- Digital display with indication of current and set temperature
- Convenient push-button control
- Safe design: built-in holder with retractable sponge
- Sound alarm in case of errors
- Low-voltage soldering iron (24 V) reduces the risk of electric shock
- Suitable for small-scale and service soldering
Specifications
- Channel: 1 assembling channel
- Max. station power: 48W
- LCD:
- shows the actual temperature of the soldering tip
- shows the setting temperature
- Button type control
- Temperature range: 302°F - 842°F (150°C - 450°C)
- Max. power of the soldering iron: 48W
- Soldering iron voltage supply: 24V
- Ceramic heating element
- Accuracy of display readings ± 5%
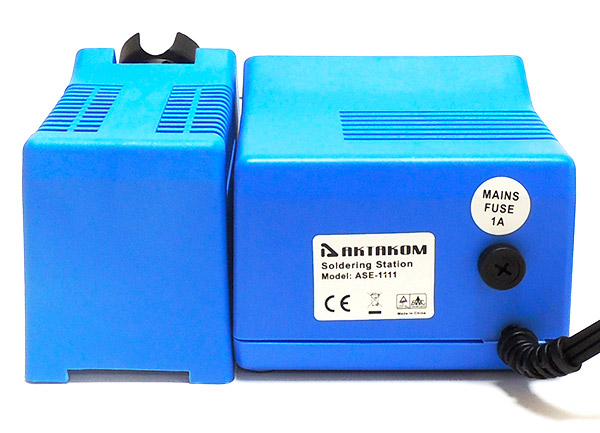
- Fuse 1 A / 250 V (5x20 mm)
- Operating temperature: +5 ... + 40°C
- Storage conditions, transportation: –20 ... + 60°C, humidity not more than 90%
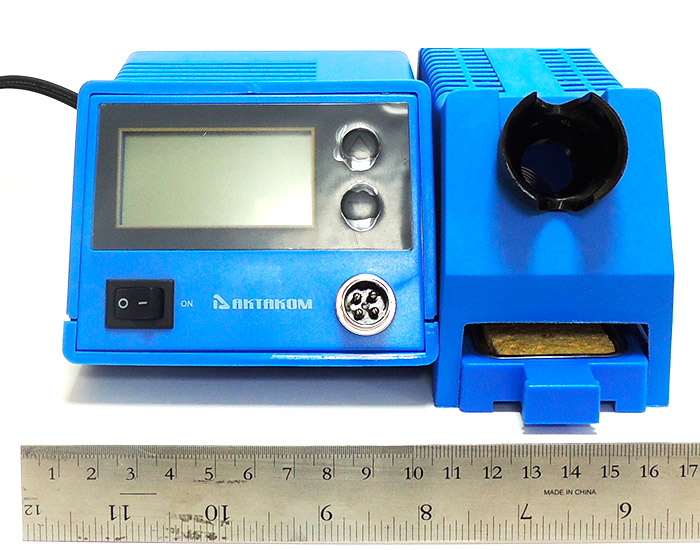
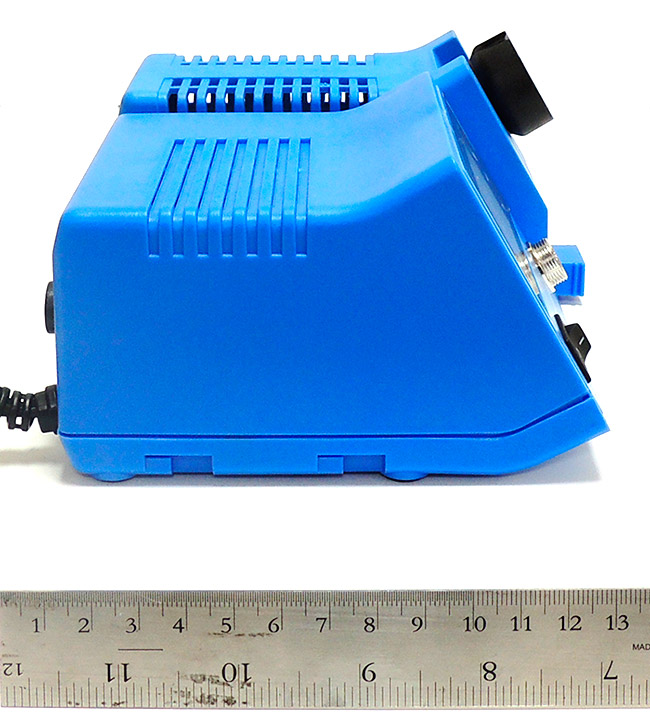
- Box dimensions: 9 x 9 x 4 in / 220 x 220 x 100 mm
- Box weight: 4.1 lb / 1.86 kg
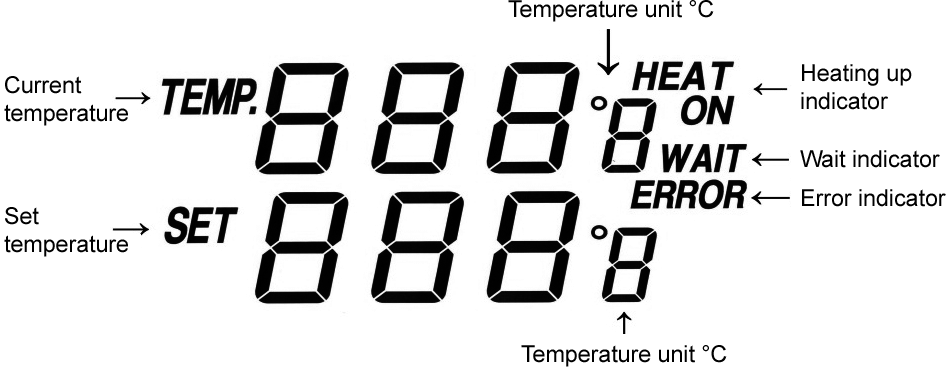
Display in °C
Package Contents:
1. Soldering station with display
2. Assembly soldering iron
3. Holder with tray and sponge
4. User manual
Controls of AKTAKOM ASE-1111 Soldering Station
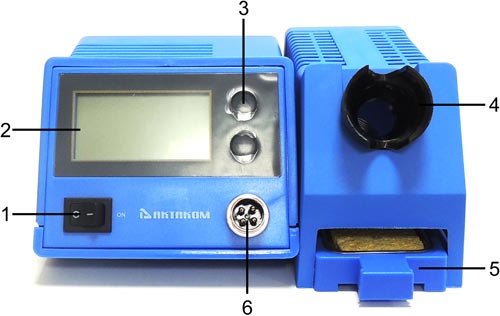
- Power switch
- Display
- Temperature setting buttons
- Soldering iron holder
- Drawer with cleaning sponge
- Socket to connect soldering iron
Display
Safety instructions
Take care of yourself!
- Please read user manual carefully before using the instrument.
- Do not use the device if there is visible damage.
- Repair and maintenance of the device can be done only by a qualified specialist of the service center.
- Before connecting the instrument to the electrical network, observe all known precautions, and make sure that the grounding system is to avoid electric shock.
- Use only those accessories that are intended for use with this device.
- While working, do not touch the metal parts near the tip of the soldering iron.
- After completion of the work, it is necessary to install the soldering gun in the regular holder of the soldering gun.
Operation instructions
- On the front of the housing you will find the LC-Display, the +/- button, and the ON/OFF switch.
- After the power plug and the soldering iron have been plugged in and the soldering iron has been placed in the stand, turn on the soldering station with the ON/OFF switch.
- For the first use, in the display, you will see 330°C in the lower line as factory default and 25°C in the upper line.
- With the mulfunction display, temperatures from 150°C to 450°C can easily be set and confirm.
- With the +/- button, you can set the temperature with a resolution of rc. To do so, briefly press the respective button. If you hold the button, the display will change in steps of 10°C. When the desired temperature is reached, just release the button.
- After you have set the desired temperature, "HEAT ON" and "WAIT" will be displayed.
- For second use, the station will memory the temperature set for the last use.
- Select the right temperature for every job to avoid cold soldering joints or damaging delicate components or burning flux with excessive heat. Burnt flux will cause weak joints.
Frequently Asked Questions
How to care and use of the soldering tip?
How to clean the tip?
Why a «de-tinned» tip fails to work?
Is this soldering station designed for soft soldering or hard soldering (brazing)?
What temperature should use for soldering?
How to care and use of the soldering tip?
|
|
Tip’s temperature High soldering temperatures can degrade the tip. Use the lowest possible soldering temperature. The excellent thermal recovery characteristics ensure efficient and effective soldering event at low temperatures. This also protects the sensitive components from thermal damage. Cleaning Clean the tip regularly with a cleaning sponge, as oxides and carbides from the solder and flux can form impurities on the tip. These impurities can result in defective joints or reduce the tip's heat conductivity. When using the soldering iron continuously, be sure to loosen the tip and remove all oxides least once a week. This helps prevent reduction of the tip temperature. When not in use Never leave the soldering iron sitting at high temperature for long periods of time, as the tip's solder plating will be covered with oxide, which can greatly reduce the tip's heat conductivity. After use Wipe the tip and coat it with fresh solder. This helps to prevent tip oxidation.
Up
|
How to clean the tip?
|
|
Caution! Never file the tip to remove oxide.
- Set the temperature to 250°C.
- When the temperature stabilizes, clean the tip with the cleaning sponge and check the condition of the tip.
- If there is black oxide on the solder-plated portion of the tip, apply new solder (containing flux) and wipe the tip on the cleaning sponge. Repeat until the oxide is completely removed. Coat with new solder. The solder protects the tip from oxidation and prolongs the life of the tip.
- If the tip is deformed or heavily eroded, replace it with a new one.
Up
|
Why a «de-tinned» tip fails to work?
|
|
A de-tinned tip is one which cannot wet with solder. This exposes the plating to oxidation and degrades the heat transfer efficiency of the tip.
The de-tinning is caused by:
1) Failure to keep the tip covered with fresh solder while not in use.
2) High tip temperatures.
3) Insufficient melting in soldering operations.
4) Wiping the tip on dirty or dry sponges and rags (Always use a clean, wet, industrial grade, sulfur-free sponge).
5) Impurities in the solder, iron plating, or on the surfaces to be soldered.
Up
|
Is this soldering station designed for soft soldering or hard soldering (brazing)?
|
This soldering station is for soft soldering.
Up
|
What temperature should use for soldering?
|
|
600 - 650°F (316 - 343°C) is a good place to start for lead-based solder and 650 - 700°F (343 - 371°C) for lead-free solder.
Note: if clots form, the temperature is too low.
Up
|
La estación de soldadura AKTAKOM ASE-1111 se utiliza para el montaje de componentes electrónicos en la superficie de PCB.
Esta estación de soldadura compacta es perfecta para el uso en campos como la investigación electrónica, la enseñanza y la producción, especialmente en la reparación y soldadura de aparatos electrónicos y equipos de comunicación.
- Potencia 48 W
- Tensión de alimentación 24 V
- Rango de temperatura: 150 ... 450 °C
- Exactitud de las lecturas de la pantalla ± 5%
- Fusible 1 A / 250 V (5x20 mm)
- Temperatura de funcionamiento: +5 ... + 40 °C
- Condiciones de almacenamiento, transporte: –20 ... + 60 °C
- Humedad no superior al 90%
- Dimensiones de embalaje: 220 × 215 × 100 mm.
- Peso de envío: 1.9 kg
Back to the section
|
|