| www.tmatlantic.com
Test & Soldering Equipment On-line Store |
D.E.V.I.C.E. (Wiki)Calculators Services |
||||||
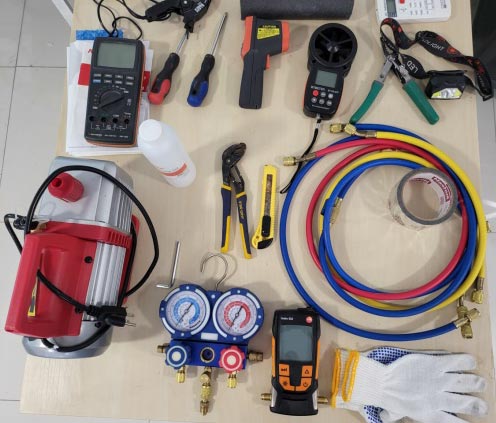
DIY Installation and Startup of a Mini Split SystemInstalling and starting up a mini split system yourself is not a difficult task for most people with a technical background, provided they have the necessary equipment and tools. This article presents an illustrated step-by-step guide based on a successful DIY installation and startup of a mini split system for a room in a single-family home. The article includes links to the required materials for purchase. The following tools are used in the described work (Fig. 1):
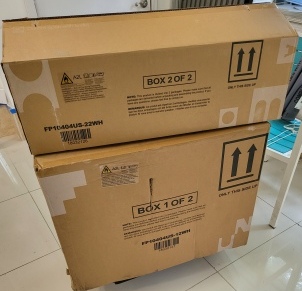
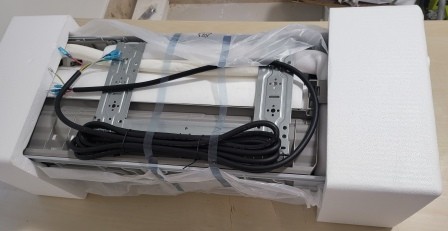
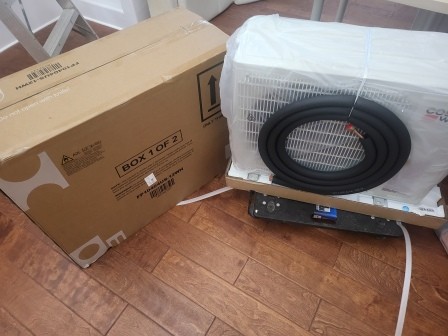
Fig. 1. Tools used for Costway FP10404US mini split system installation Work Sequence for Installing the Costway FP10404US Mini-Split System1. Unpacking, Inspection, and Preparation for Installation of Outdoor and Indoor UnitsThe Costway FP10404US mini-split system is delivered in two separate boxes. The smaller box (shown at the top in Fig. 1.1) contains: The indoor unit The wall mounting panel for the indoor unit (see Fig. 1.2)
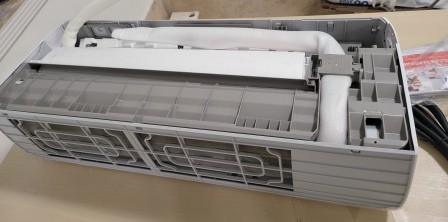
On the back side of the indoor unit, under white thermal insulation, are: Refrigerant inlet and outlet pipes (see Fig. 1.3)
The larger box (shown at the bottom in Fig. 1.1) contains: The outdoor unit, pre-charged with R 32 refrigerant Two copper refrigerant lines (see Fig. 1.4)
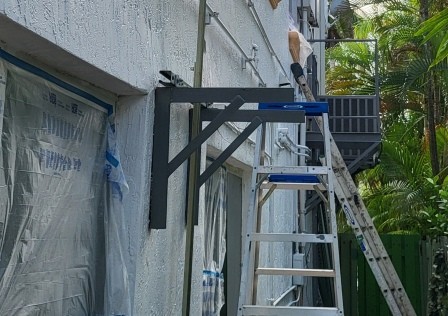
2. Preparing the Installation Sites for the Outdoor and Indoor Units of the Mini Split SystemThe outdoor unit can be mounted on a wall or on a pre-poured concrete pad. In the described example, the installation was done on the wall for the following reasons: the house is located in a flood zone area and the wall is made of stone (concrete blocks). To mount the unit, special brackets of the … type can be used. In this case, previously installed brackets were used (Fig. 2.1).
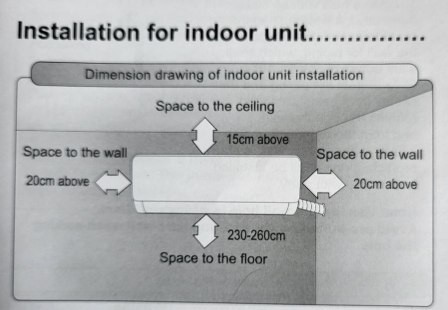
The installation site for the indoor unit also requires preparation. First of all, it is necessary to ensure proper space for air circulation, as specified in the documentation for the indoor unit (Figs. 2.2 and 2.3).
|

|